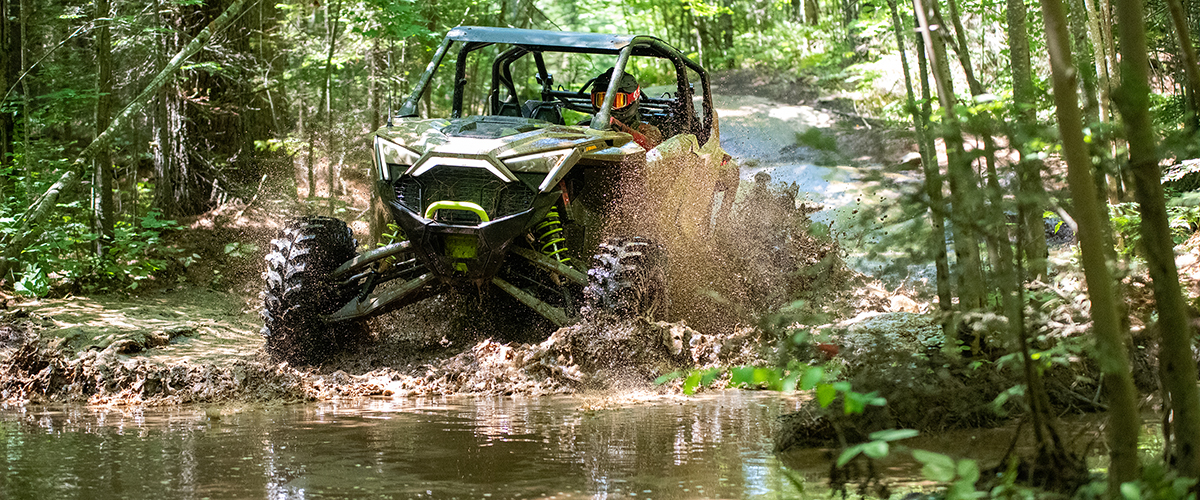
Stand Out on the Trails: How to Pick the Ultimate ATV Graphic Kit
Riders apply ATV graphic kits to personalize their machines, protect factory plastics from damage, and add visual appeal. It’s more than selecting an over-the-top design to choose an ATV graphic kit. It’s a technical decision that impacts how your vehicle’s plastics look, hold up, and perform.
Finish Types and Materials
The uppermost layer of Yamaha Raptor 350 decal kits is crucial to durability and appearance. Although laminate is the most sought after, it is not the only option. Glossy and matte laminates are favored because they are protective and aesthetically pleasing, glossy finishes are richer in color but scratch easily, while matte ones reduce glare and provide improved traction.
You may also find some manufacturers who make textured finishes such as satin or semi-gloss where shine and scratch resistance are balanced. Some kits also use polyurethane topcoats instead of plain vinyl laminates for added chemical resistance and flexibility. The right finish material will give you a surface treatment appropriate to your riding environment and visual preference.
Adhesive Quality and Fitment Specificity
Fitment specificity and adhesive quality are the keys to a successful installation of a graphic kit. Choose kits that have air-release channels and pressure-sensitive adhesives to reduce bubbles and ensure uniform, extended adhesion. Avoid generic glue-backings, which will fail under humid or high-speed conditions.
Also, choose precision-cut kits that are made specifically for certain makes, years, and models to achieve best fit and finish. Universal kits appear simple but may require trimming and compromise overall appearance. Some decal kits pre-cut to precisely fit the bike’s contours and bolt locations. Take note of the compatibility for easy installation and a long life.
Print Quality and Colorfastness
High-resolution printout is an imperative. Pre-printed kits that have used solvent or eco-solvent ink will mostly render better saturation and sharper lines. Inks need to be UV-stable as well, in order to not fade from excessive sunlight. Lower-quality kits will typically undergo pixelation, bleed edges, or rapid discoloration with several rides.
Panel Coverage
Not all kits suit every area of the body. Some only suit high-visibility areas like fenders and tanks, and others suit all the plastic panels. Establish whether a partial or full wrap is needed. A full kit usually contains front and rear fender decals, side panel decals, tank cover decals, and number plates, each contour-matched for easy application.
Brand Reputation and Testing
Check if the brand tests its products in a race or off-road setting. Those with a track record of supporting competitive riders tend to invest more in durability, color accuracy, and design integrity. Look at user reviews and images in real applications—not mockups in a studio environment, to back up performance assertions.
Customization Options
If customization is a must, select a company that provides customization services. This can take the form of custom nameplates, number incorporation, or color scheme modification. But ensure that custom kits are still produced on the same high-quality material as regular ones, as some custom versions sacrifice material quality to keep costs down.
Selecting the right ATV graphic kit means looking at material hardness, adhesive adhesion, fitment precision, and finish type. Model-specific decal kits provide optimal performance and appearance. Don’t forget to look at brand name and installation support. A good warranty gives extra protection, reflecting the manufacturer’s confidence in quality and durable performance. Find these features to achieve long-lasting style, protection, and visible notice on any trail.
Popular Categories


